Halloween Charcuterie Board Idea
Hi friends!
I’m back with another fun charcuterie board idea, but this time I’ve finally created a smaller Halloween-themed version that I’ve been wanting to do for so long! There are so many cute themed charcuterie boards to use and when I saw this one shaped like a coffin I knew I needed to do a board for Halloween! If you’ve been following for a while, you might remember the HUGE Halloween Charcuterie Board I made a few years ago that literally covered my entire kitchen island! It was one of my favorite boards or spreads that I have ever created! For this new board, I wanted to add in a few more spooky elements to make it feel a little more festive and fun, but without getting too gross or creepy! I will stop yapping, here is everything you need to replicate the board below!
Happy creating!


WHAT I USED
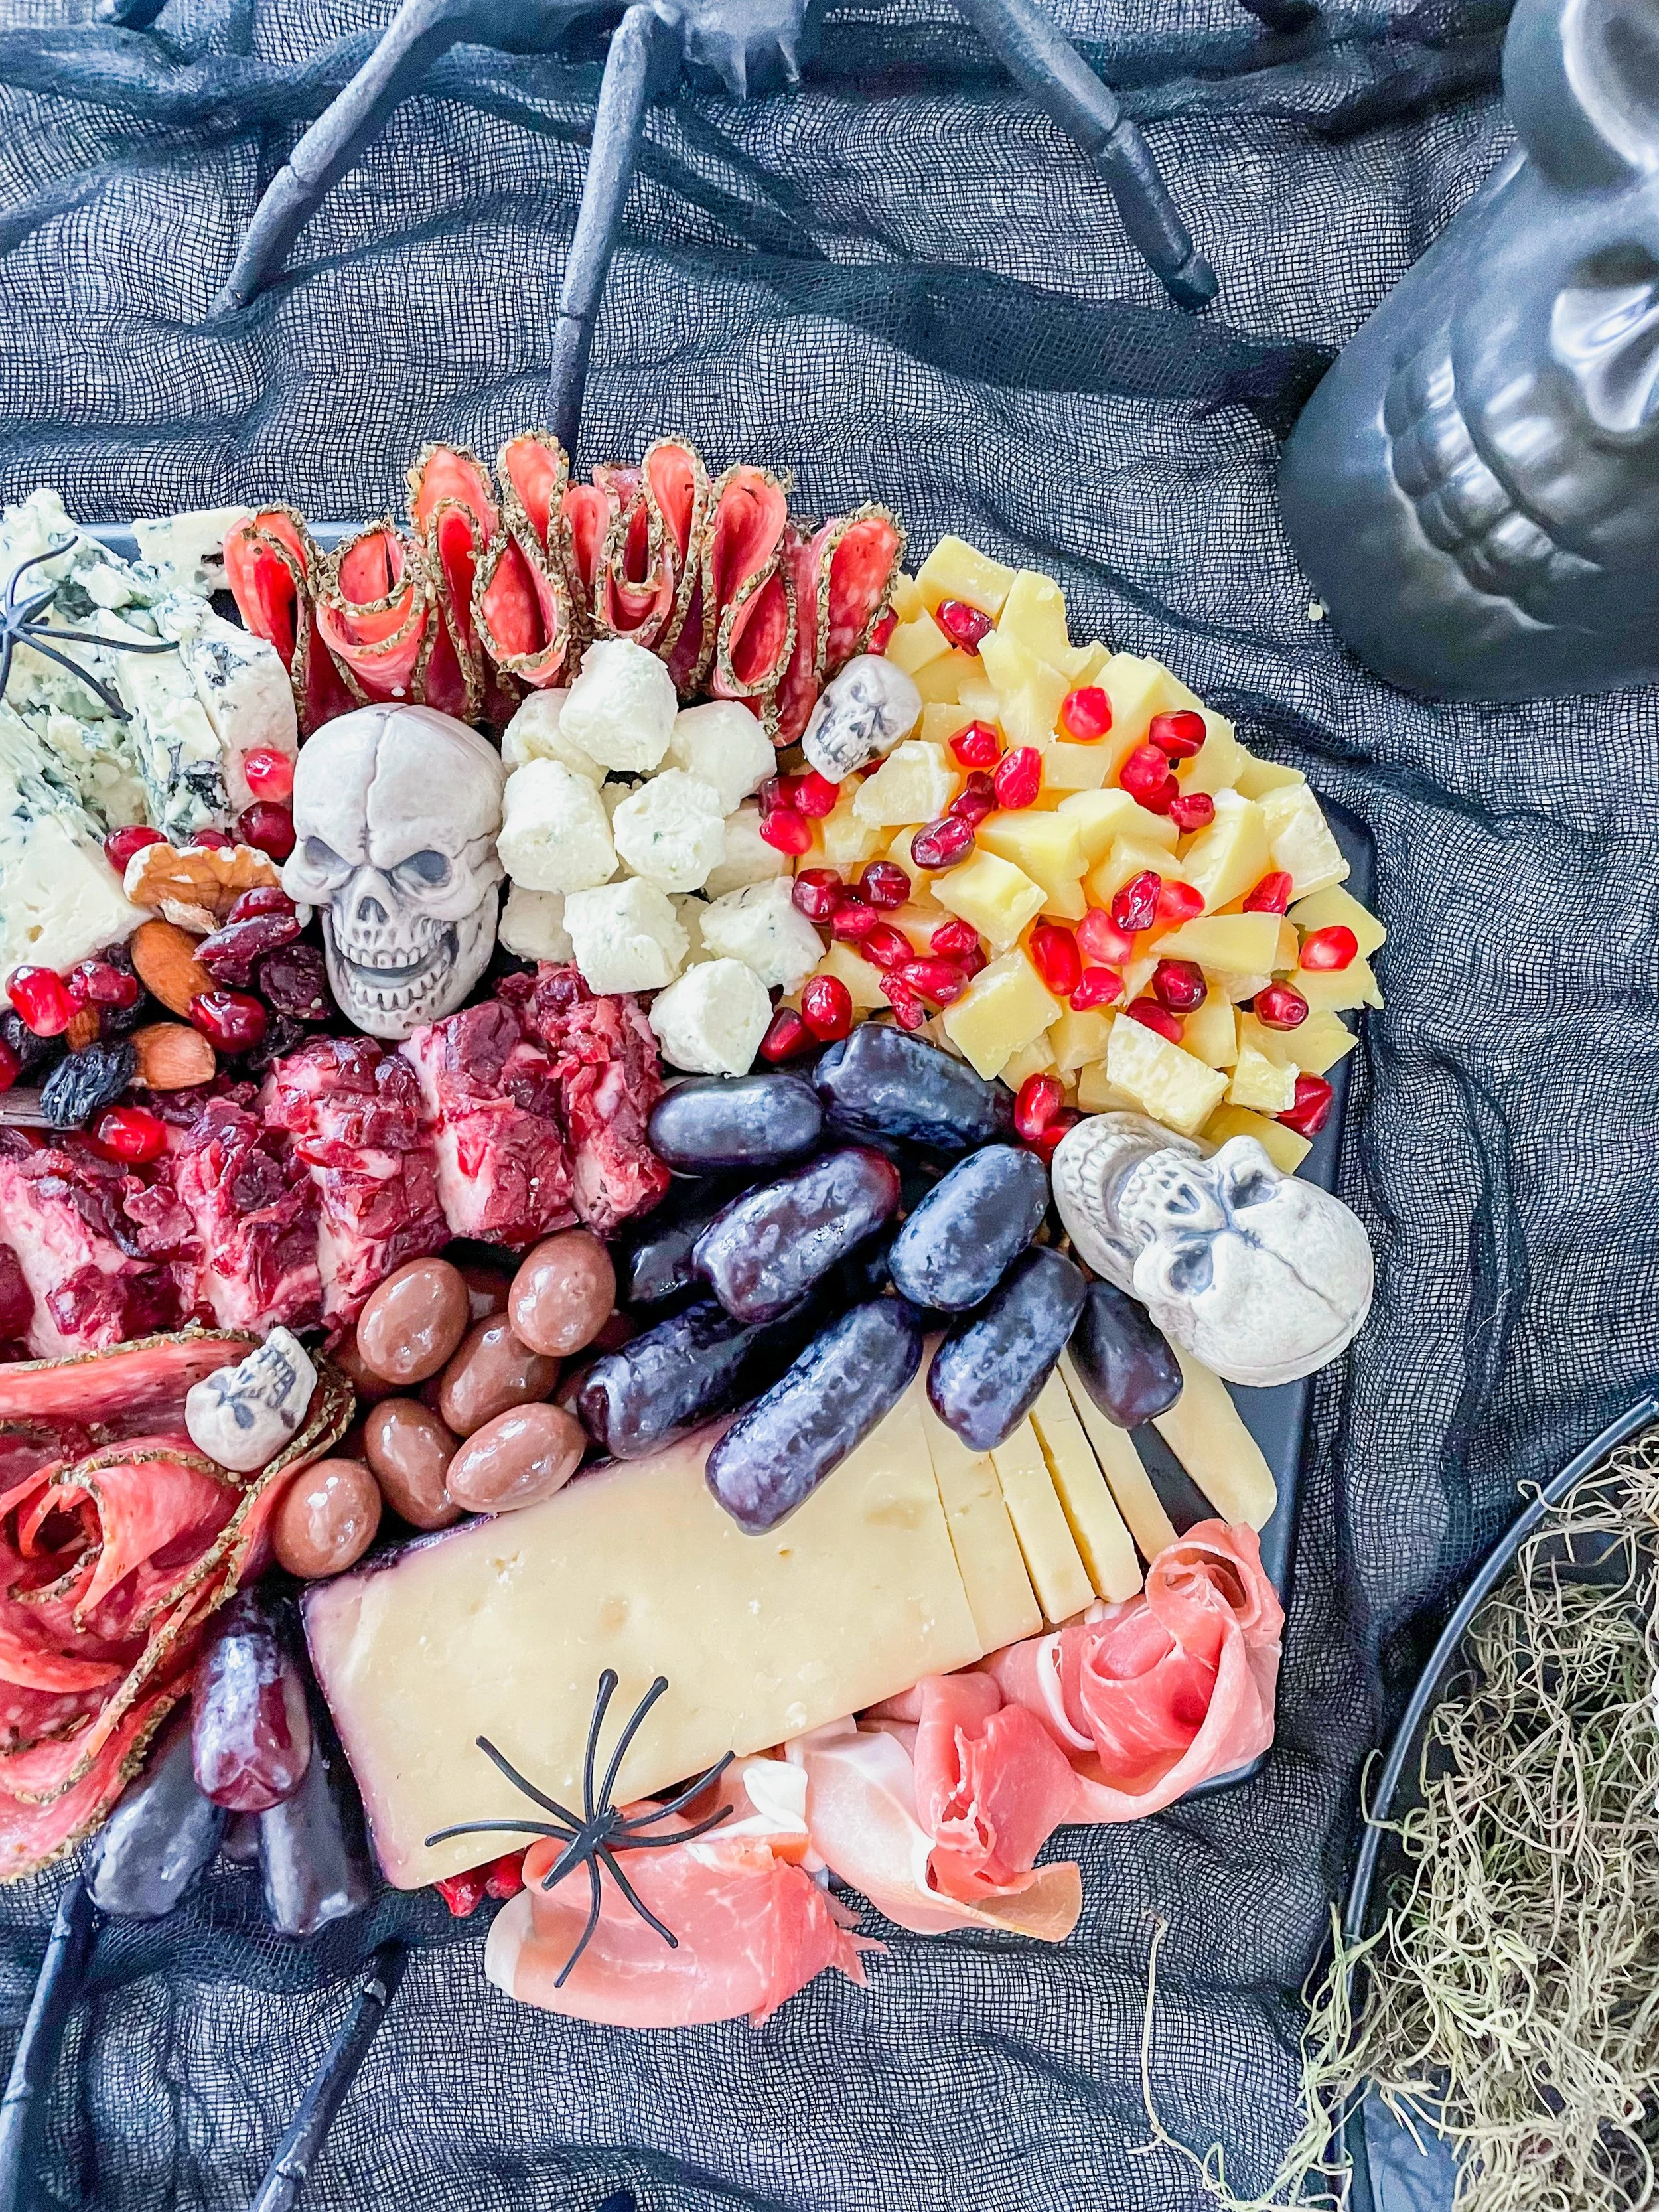
Here’s everything that went on my coffin-shaped board:
Moon Drop Grapes - I like the deep purple and dramatic look that it adds to get that perfect moody Halloween vibe. I got these at Target!
Pomegranate Seeds - I think they really added a pop of color and also kind of look a little like edible gems!
White Aged Cheddar - sharp and classic and on pretty much every board I make.
Blue Cheese - I added this cheese for a little funk and also for the color contrast!
Blueberry and Cinnamon-Coated Goat Cheese - This cheese has such a great flavor and the purple coating ties in perfectly with the theme we are going for.
Mini Brie Wheels - I love to add these mini brie wheels to a board because they are soft, creamy, and cute for layering! Plus it leaves out the need for having your guests cut an otherwise sticky cheese.
Mike’s Hot Honey - always delicious, sweet with a little heat and it pairs especially well with cheddar or the brie wheels!
Milk Chocolate Covered Almonds - I like to add sweet elements to all of my boards and these chocolate covered almonds were perfect on this one for a little dessert moment.
Merlot Bellavitano Cheese - I really like this cheese! I love the flavor of the merlot and it looked especially on theme for this halloween board!
Almonds, Dried Cranberries, and Dark Chocolate Mix - This is a great filler to add to a board and tie the look all together.
Herb-Coated Salami - I love the green edges on the Halloween board, plus I think that it breaks up all the browns and creams that are on the board nicely!
Prosciutto - Always a great choice for a charcuterie board, it is delicate, salty, and easy to layer or fold to add a little something different visually to the board.


🕸️ Fun Extras to Add to the board
Props I used:
A few tiny skulls that came in a pack
I also used a few plastic spiders from a Halloween decor bag
On themed candles to set around the board to add to the vibe
Moss - this added a little spooky element to the area around the board as well!
Other Ideas:
Blackberries or dark cherries for extra color and texture.
Halloween gummies (like bats, pumpkins, or candy eyeballs) for a more playful look.
Crackers shaped like bats, coffins, or ghosts.
Pumpkin seeds or roasted nuts for crunch.
You can also tuck in little decorative items like:
Dried flowers or fresh red roses
⚰️ How to Build the Board
Here’s how to put it all together for a perfect presentation!
Start with the board
Place your coffin board on a clean surface, or really any small wooden board that you choose, I linked a ton of cute other options as well for you guys! If you don’t have a coffin-shaped one and don’t want to spend the money there are definitely ways to get creative with other shapes! Just create a “coffin shape” with the things you put on the board!Add your cheeses first
I always do the cheese first! I will cut in triangles, slice thin, or break by hand the cheese that I am choosing to create visual interest with the shapes and the textures of cheeses. Once your cheeses are in a mix of cubes, wedges, or rounds you can place them around the board to “anchor” your layout. I like to space out the cheeses so each corner has a little something different!Layer your meats
Then I go in with the meats that I chose! You can fold or roll your salami and prosciutto for texture. If you want to create a salami rose I share how to do that in this blog post here! You can see that I used this technique on this board as well! Anyways, arrange the meats with the cheese that they pair best with. For example, the prosciutto near the brie or the salami next to the cheddar or Bellavitano. This isn’t something that you have to do but it can be helpful for guests making a perfect bite!Add fruits and sweet elements
If you have a mini honey pot or any bowls or jams, this is when I add these before adding in the things like moon grapes, pomegranate seeds, and dried fruit and nuts! This step adds the prettiest color and freshness to the board. I will also fill in gaps with the milk chocolate covered almonds and your dried fruit and nut mix!Fill in the blanks
This step is more like the finishing touches step of creating the board. Never be afraid to overlap items a little bit, that layered look looks so pretty and intentional. This is also where you can add your little skulls, spiders, or mini pumpkins. These things are really what makes the board look like a Halloween board!Display it!
Once the party’s over, the best part about this board is that it doubles as home decor, or at least it did in my own house! I stood mine against the wall in my kitchen and decorated in front of it with a skull candle and a pumpkin, it was like the easiest and the cutest little seasonal setup plus I love the double use of the board!


I really think that the real star of the show though was the CUTEST coffin charcuterie board I’ve ever seen! I liked that I could use it for a cheese board but it also doubles as home decor! I absolutely loved that it wasn’t just perfect for serving up a cute and festive charcuterie board but it also doubles as home decor for the kitchen! After the Halloween charcuterie board was eaten, I decided to put it up against the wall in front of an outlet in the kitchen and then decorate in front of it using a skull candle and a pumpkin! I always like to say that the best part about charcuterie boards is that you can make it what you want, use what you want and really get creative with it so take this as inspiration and make it your own for your upcoming Halloween parties and get togethers! If you have any suggestions or questions you can comment below and I will respond there or you can always email me at hello@emmatarynjones.com and I will get back to you there!
Happy Creating!
Emma